- If you are using the Hostinger Site Builder see this: https://support.hostinger.com/en/articles/6463092-website-builder-how-to-connect-google-tag-manager
- WordPress version: Log onto your WP admin dashboard:
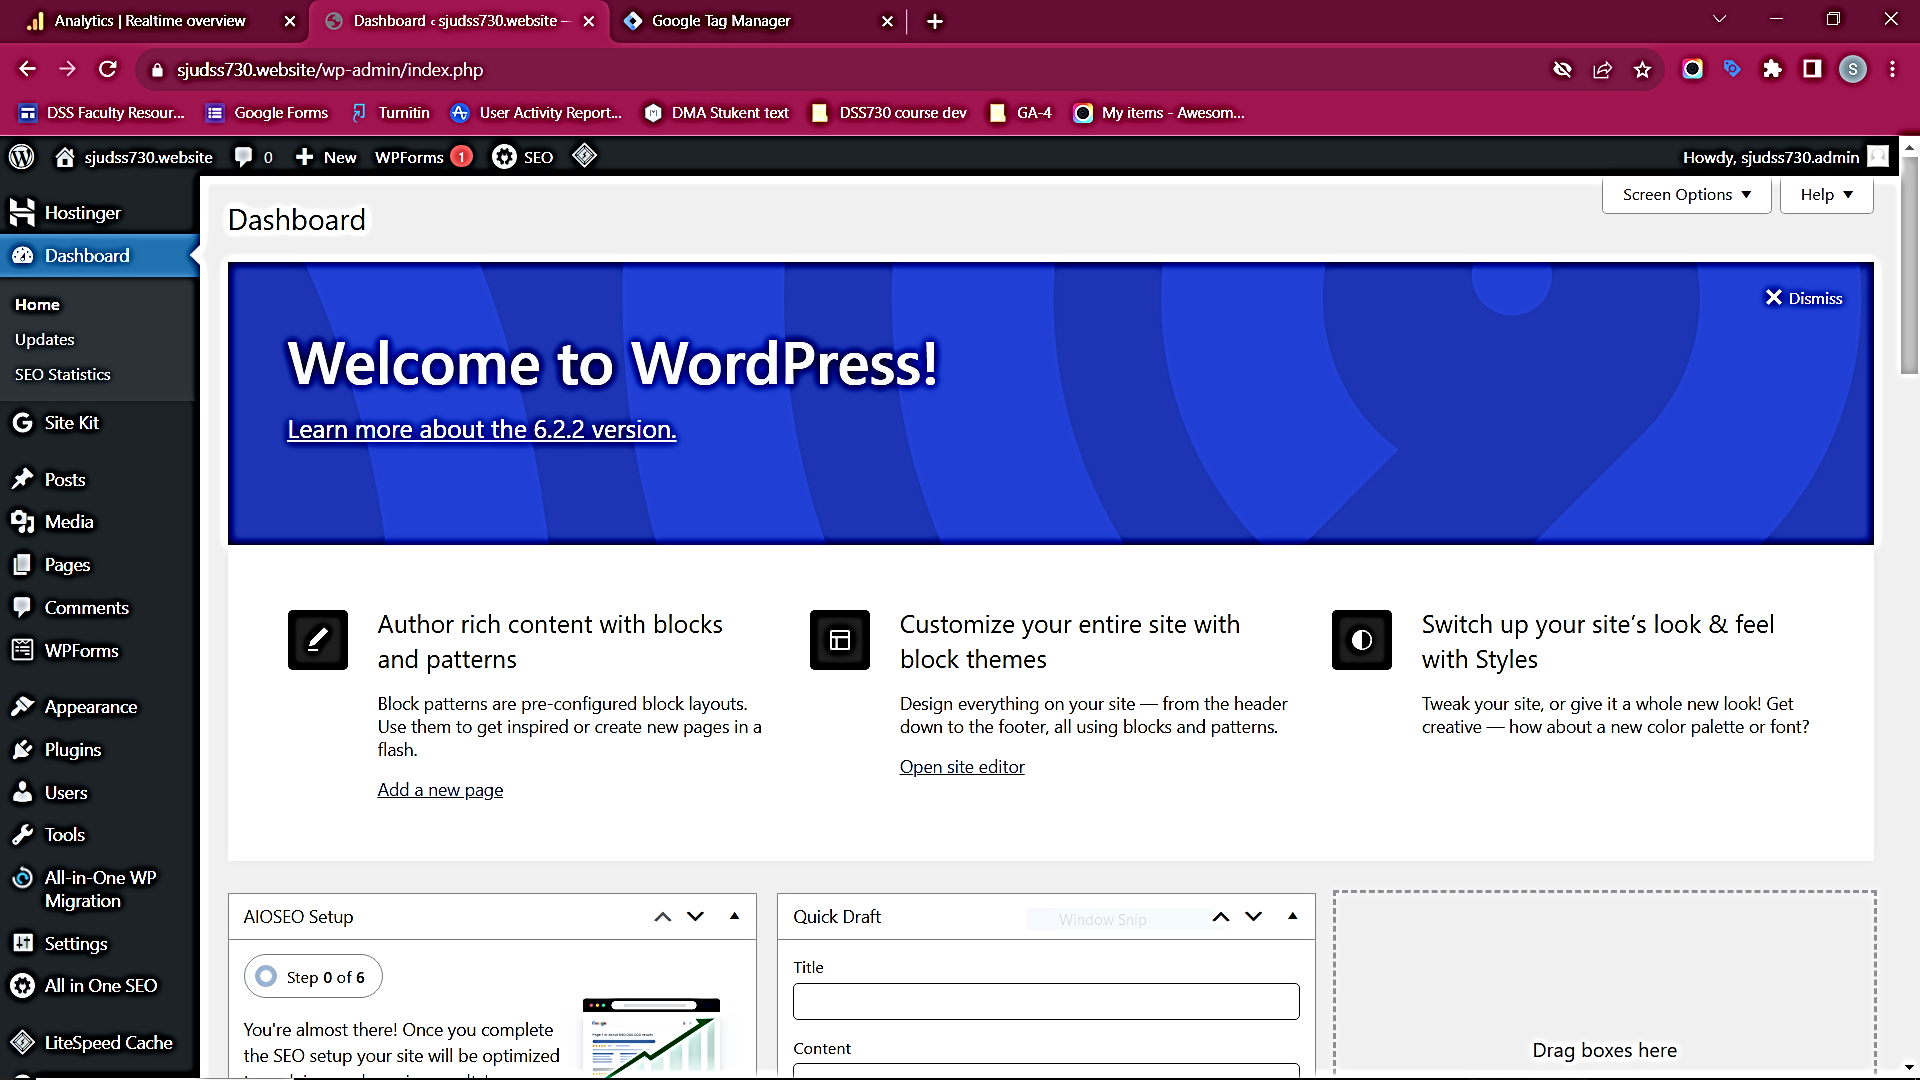
- Hit PLUGINS
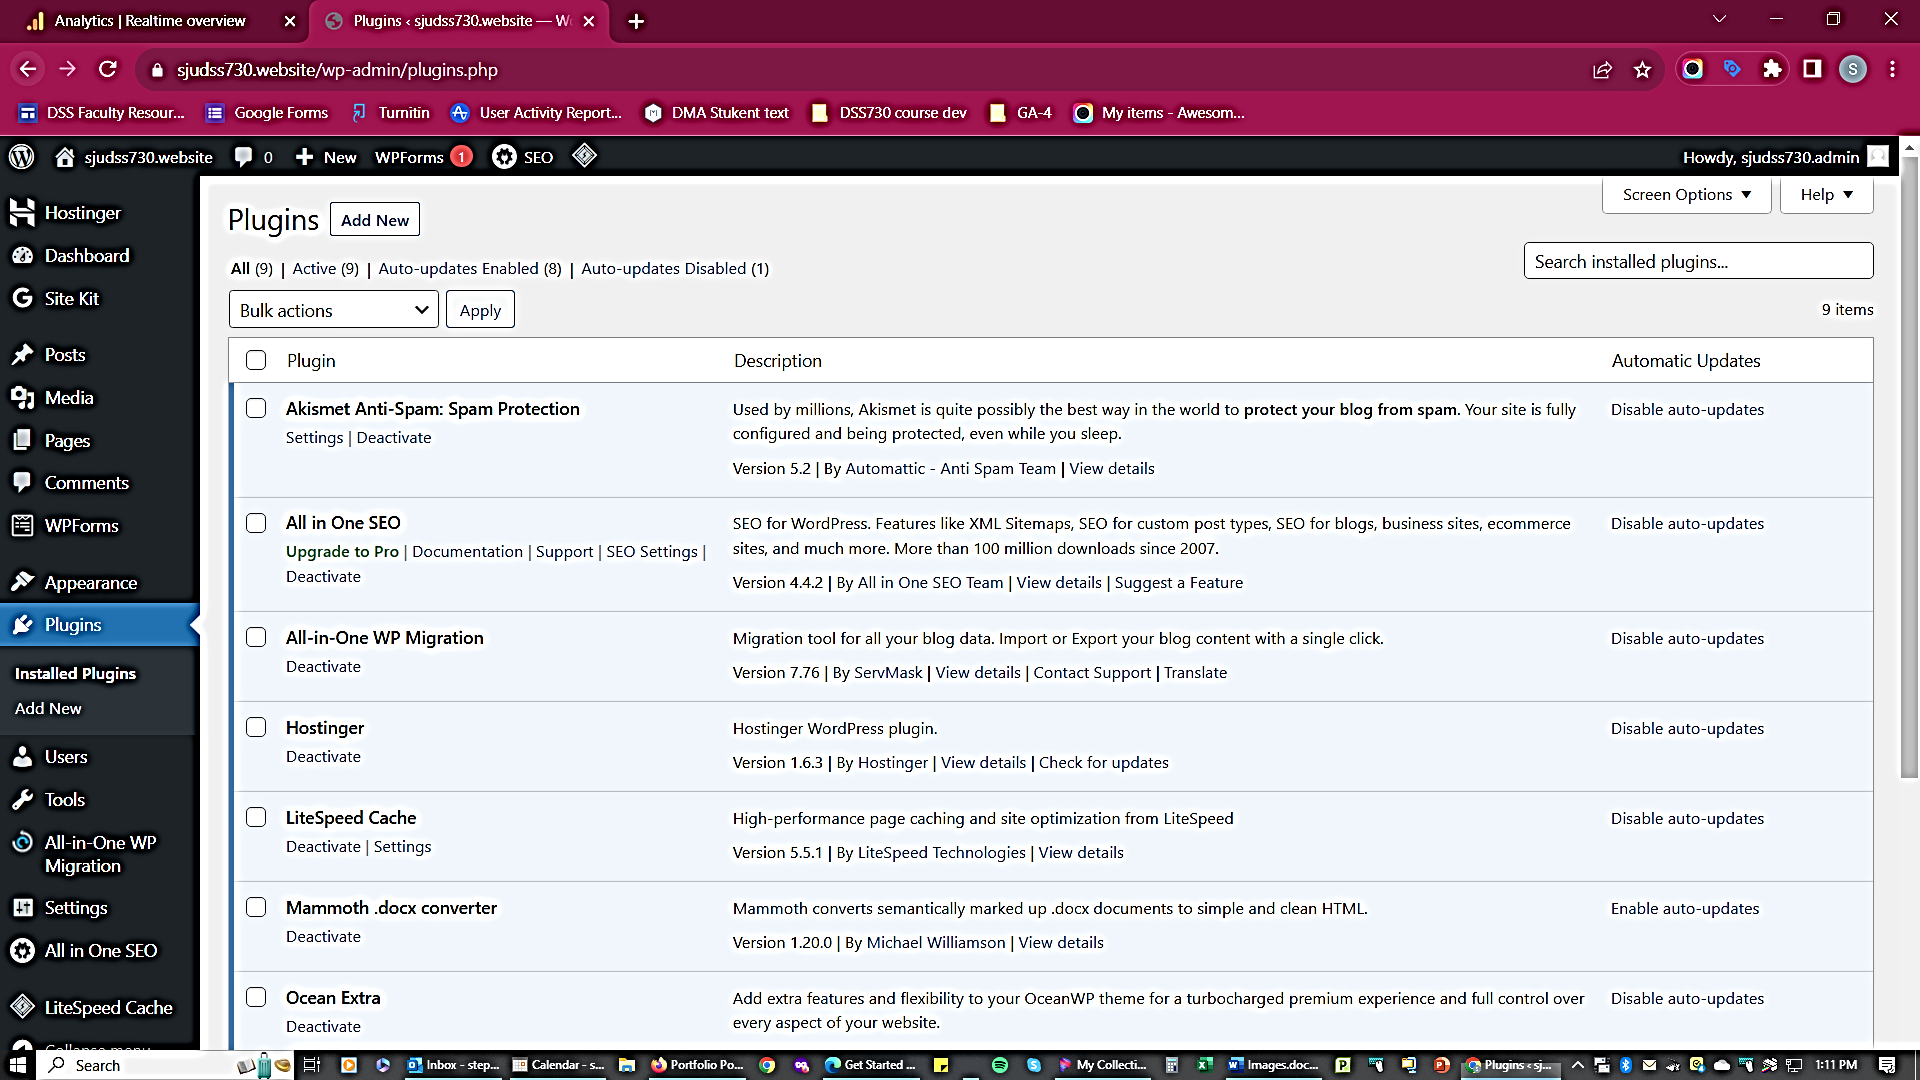
- Hit ADD NEW and keyword search for “site kit”
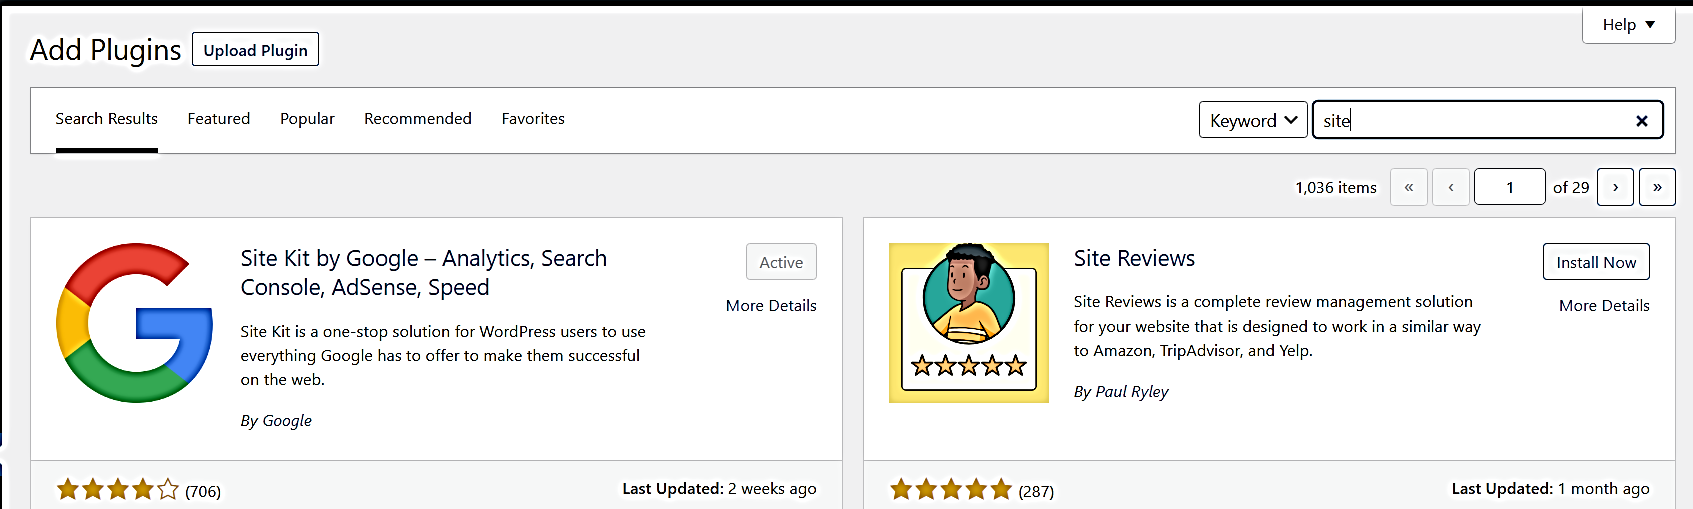
- Install Site Kit and activate
- Make sure you are logged onto the same SJU Google Account you used to set up GTM
- Grant all the necessary permissions
- Choose JUST these 3 services (NOT Google Analytics – you will use GTM for this)
- For GTM settings, Google will fill in the info from your Google GTM; you should end up with something like this:
(Note the GTM Container ID SiteKit found for you below. It should match what you saw when you created your GTM account. You can change this later if necessary)
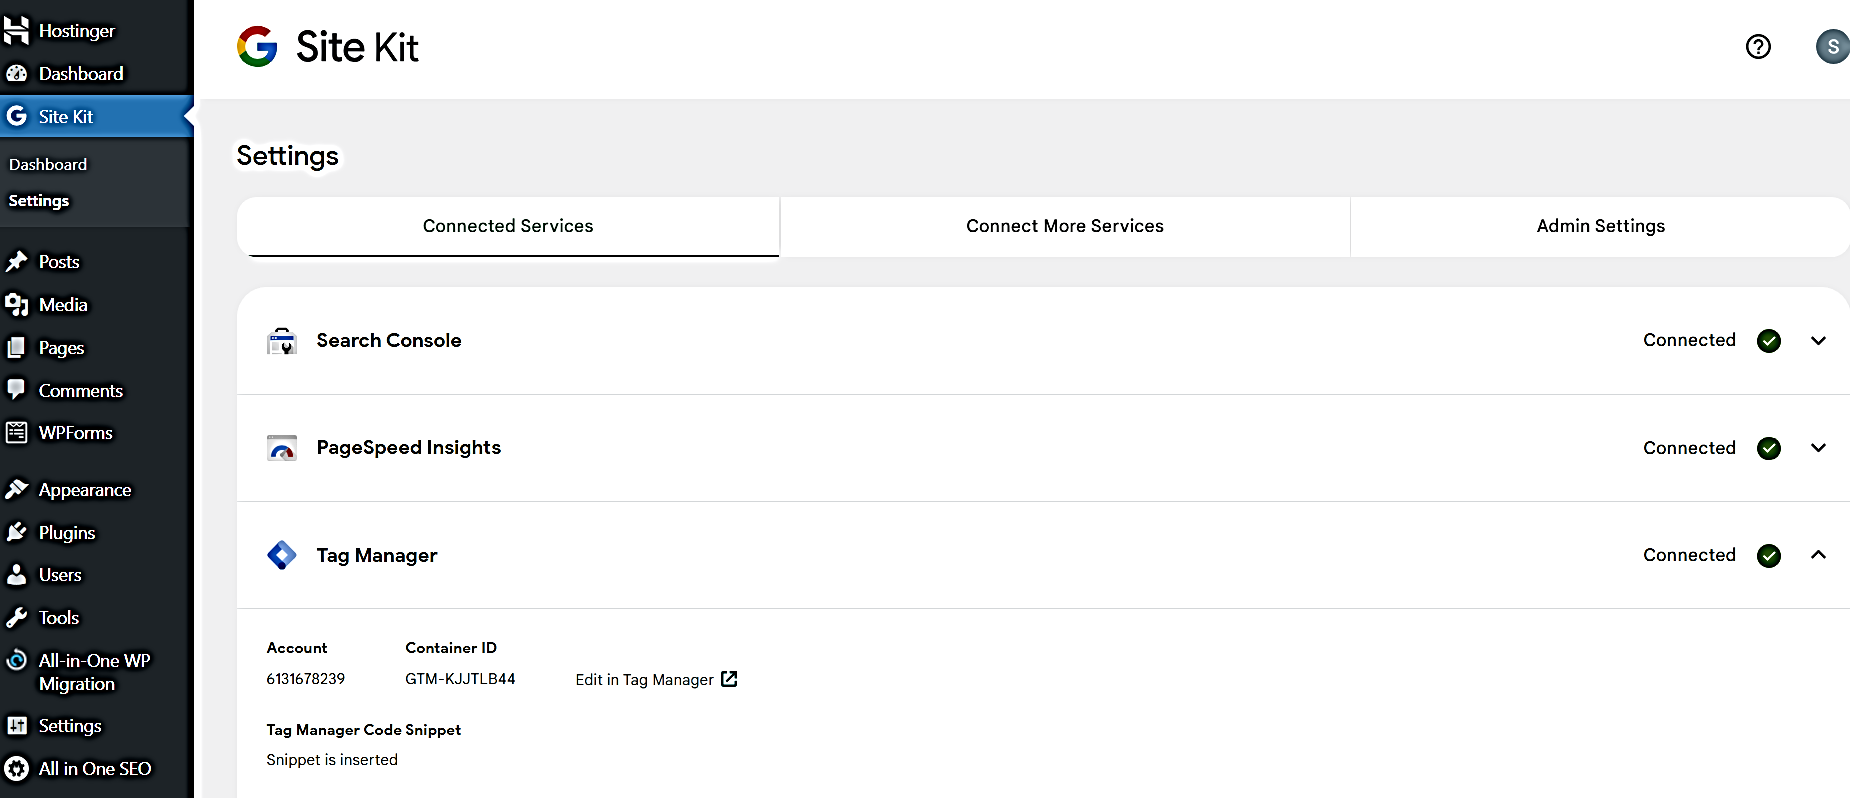
*** NOTE I have NOT Connected Google Analytics using Site Kit on this screen.***
Now, it is time for you to create your first tag and start sending data to GA4 from your site.
- Log into your account
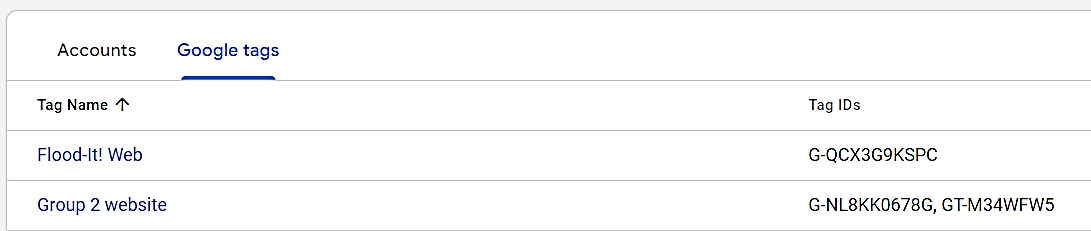
- Select your Container and click on the Google Tags tab

- Note the Google Tag ID or IDs for your site; the G- Tag ID should match your GA4 Measurement ID.
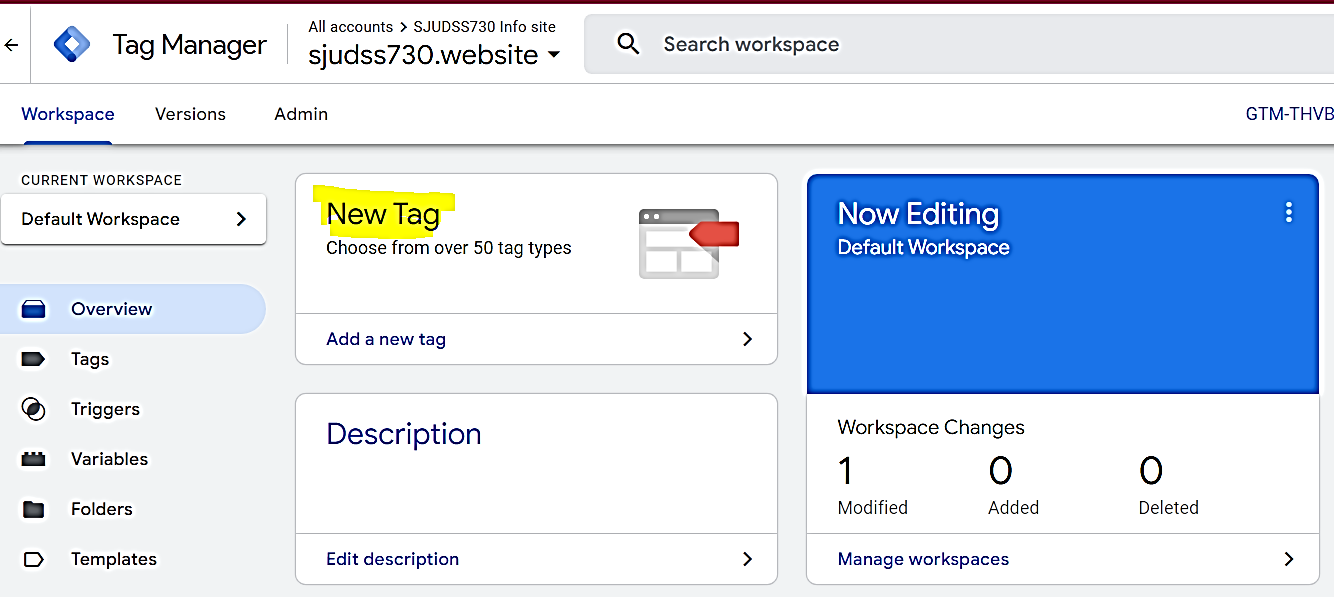
- Go to the WORKSPACE TAB
- Note: GTM has “workspaces” with version control that make it easy to manage new tags and debug any changes before you publish them. You can name the workspace if you like or just use the one “default” space. Each published change creates a new version that can easily be rolled back in case something goes wrong. Changes do not take effect until you publish them.
- Click on NEW TAG
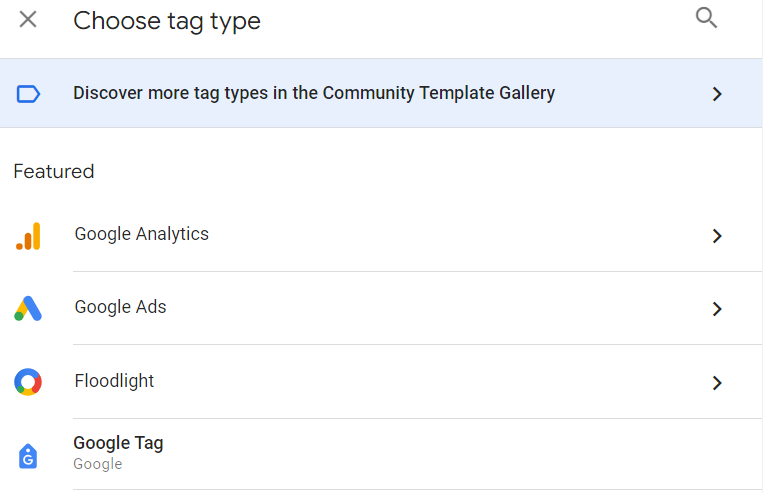
- Then choose GOOGLE TAG
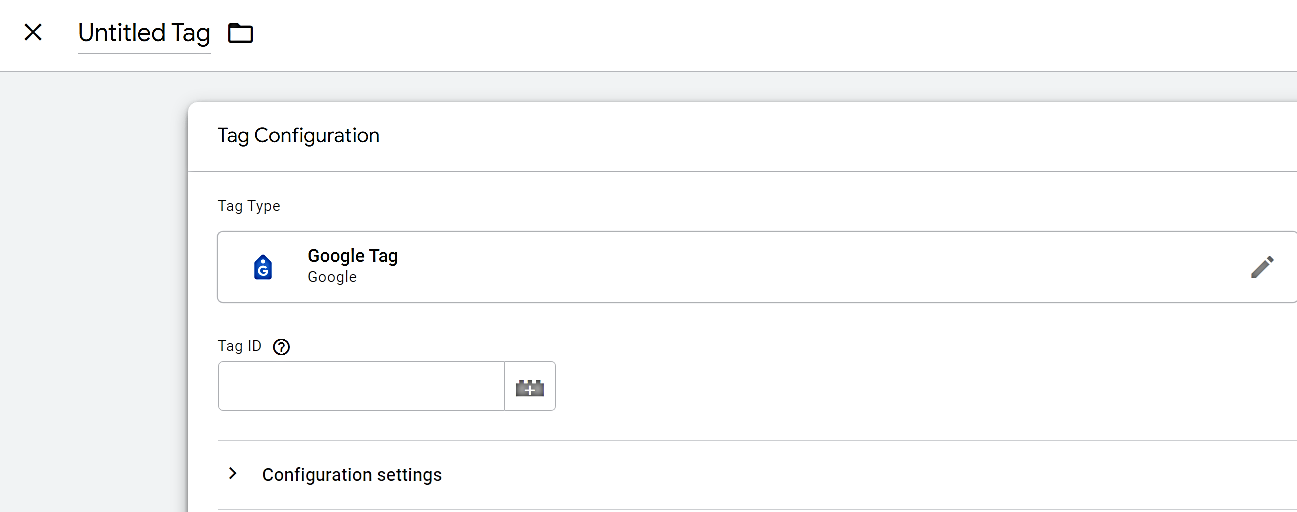
- You may need to insert your G- Tag ID from the previous step here if it is not filled in, give this tag a name on the top and save it.
- (Optional, bit recommended) – If you want to use DEBUG MODE in GA4, take these additional steps:
- Click on VARIABLES
- Look for a Variable called Debug Mode
- If it is not there, hit NEW and click again to choose a Variable Type – scroll down and find Google Tag Configuration Settings – choose this
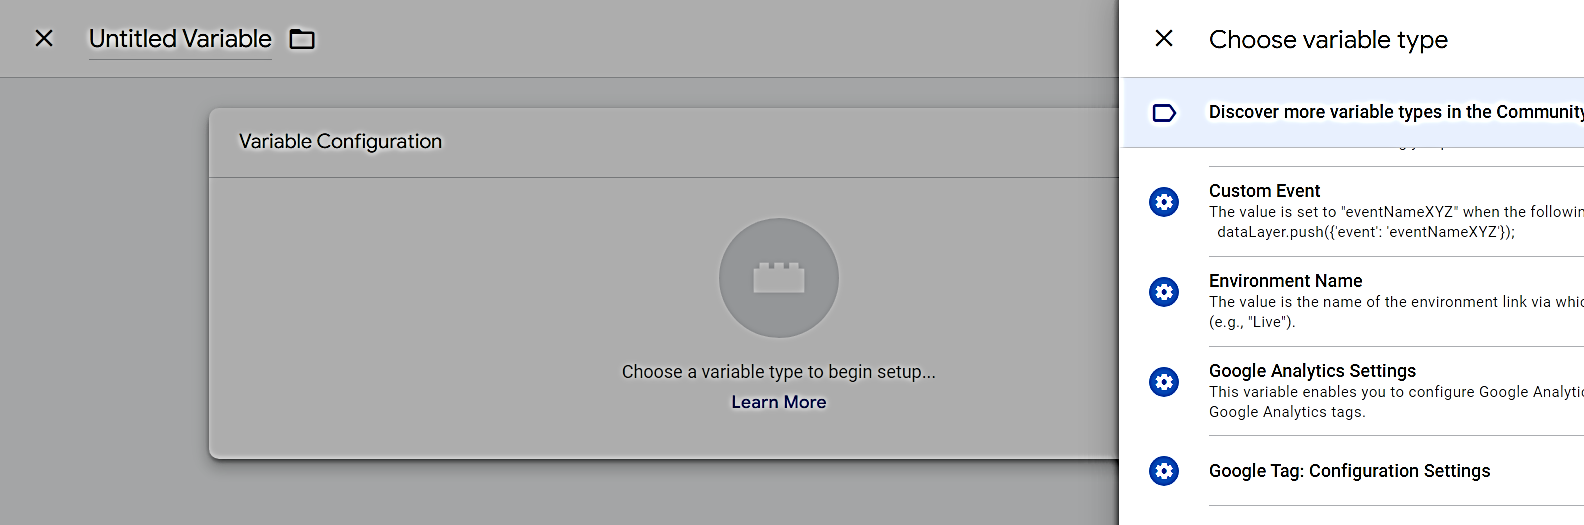
- Name this Debug Mode and set the Parameter to debug_mode and the Value to true; then save it.

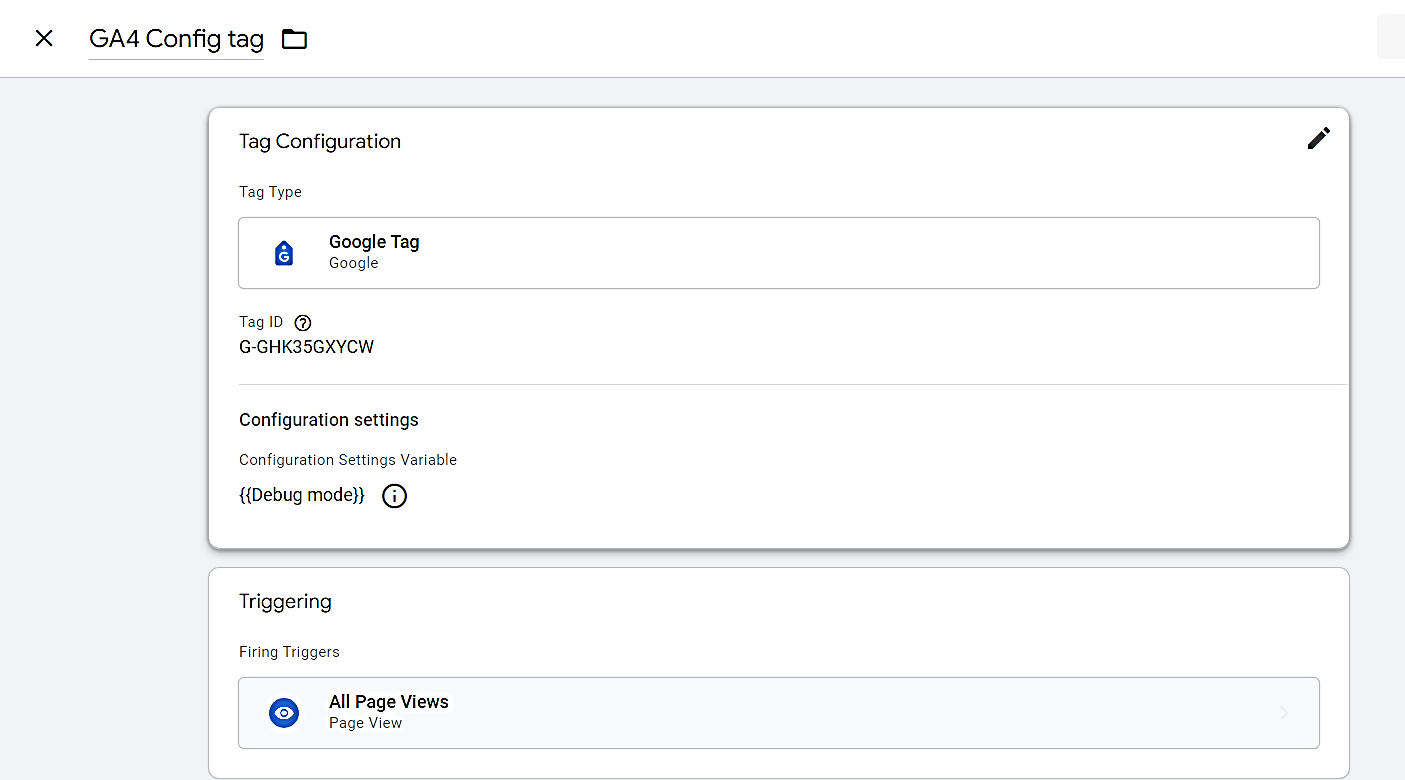
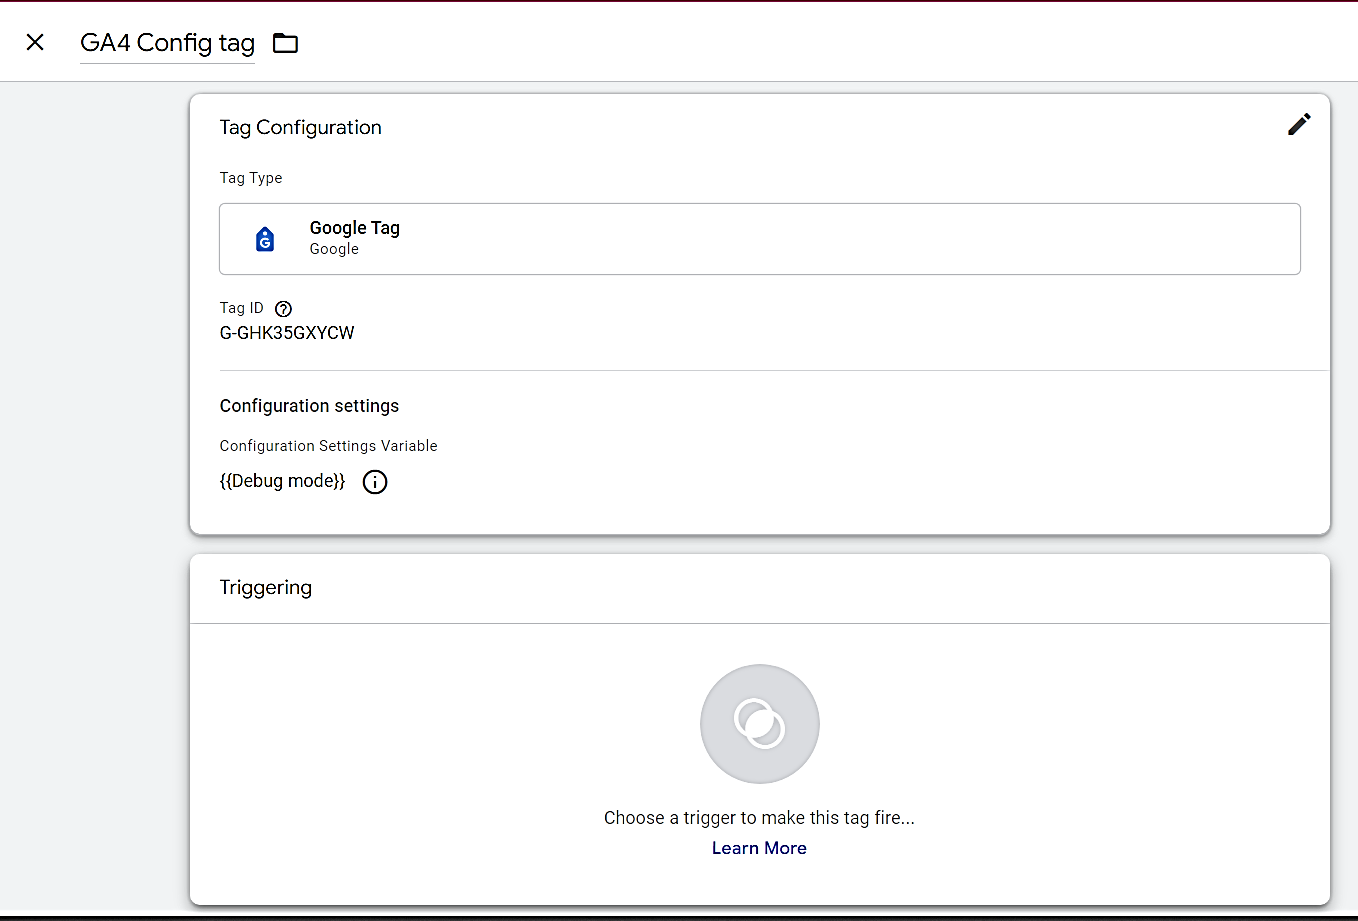
- Re-open your GA4 Config tag
- Next open Configuration Settings and then Add Parameter
- Hit the drop down on Configuration Settings Variable and your DEBUG MODE variable should appear; then add it and save the config tag again
- Next you must assign a trigger to any tag that tells it when to fire
- Choose ALL PAGE VIEWS; then save it
- You should end up with this: